Showing posts with label wool applique. Show all posts

Thursday, November 30, 2017

STITCHERY JOURNEY, PART 4

Now that the basic stitchery book is finished, the fun part begins.  The inside should contain all the necessities that a stitcher needs to accomplish her stitching tasks.  It's fun to think about all possible ways to gain this very thing.  For this one, I chose a pincushion, a thimble holder, ribbon to attach your scissor, and a wool folder to hold needles (with no "ouch" factor).   I like to thread several needles in different colors of thread to be ready for use as I stitch.
So----from the day I gathered supplies and ideas~~~~~~~~It went from this:
 To this!  As you can see, I did not use all the initial choices.  I wish I could tell you the thrill it gives me to see the finished product and how different it is from the images I had in my mind.  I could never think of all the possibilities of the finished product from the very start.  Each addition spurs another and so on and so on.
 
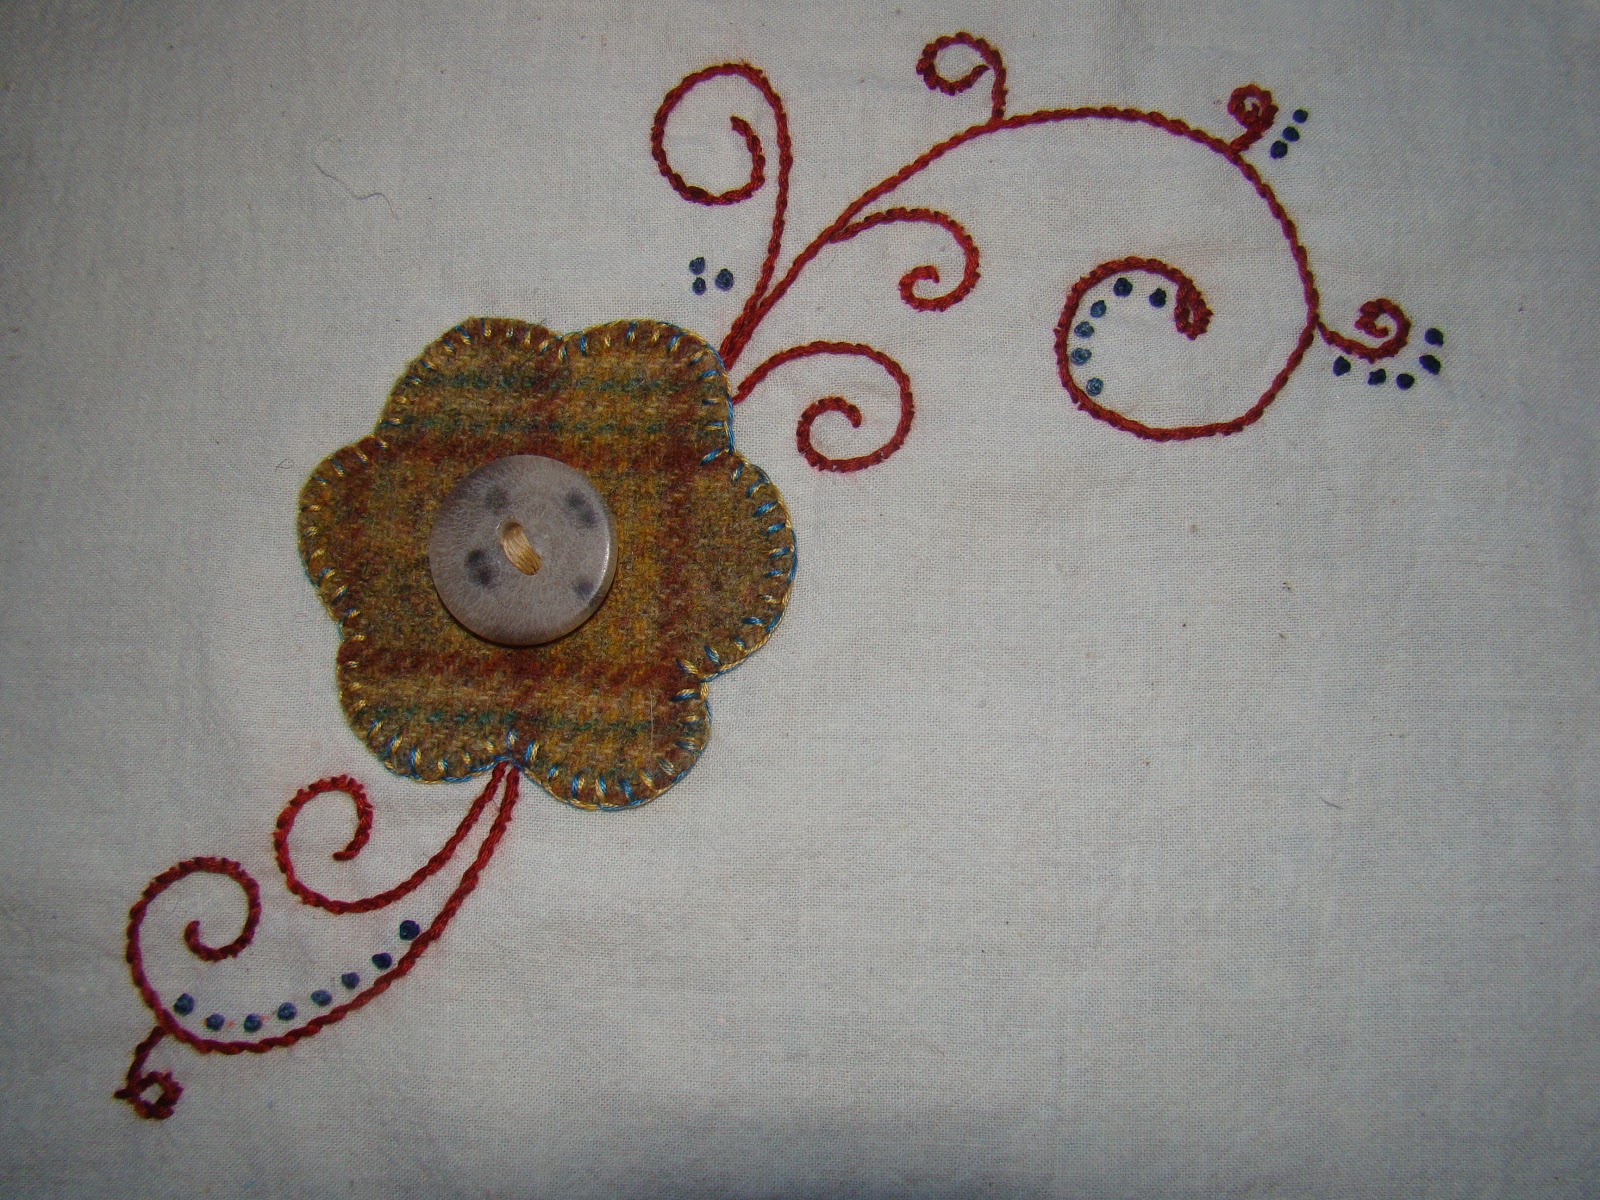
The pincushion gave me the most problems.  I tried many ways to make it and many ways to attach it but in the end ~~~~~~~~~~~~~~~~~~~~~~~~~~


 the best way I found was to cover it.  I had a small walnut shell stuffed pin cushion that was just the right size.  I wrapped it in my chosen fabric, folded it and sewed the folded ends underneath, then stitched the ends down.  I wrapped the ends with antique lace and stitched it in at the same time --
ALL DONE.


This is the best pic I took of the pincushion placement and stitching.  Before I stitched I played with placement of other things.  Here I had placed a needle folder made of wool to the left and began to design the front of it.  The scissor keeper and thimble holder would be on the right.


For the thimble holder, I placed a piece of 1/2 inch wide elastic inside the fold of my chosen sunflower fabric and stitched closely to it using my zipper foot.  The length of fabric?  I did not measure, but made it plenty long to go around my thimble plus some.  Making first and trimming afterwards is always my motto.  Bigger and longer is easier to deal with.  I hope that makes sense. 


I stitched across one end (left pic) and pulled the other open end elastic (right pic-see the elastic peeking out?)  until I gathered it enough using my thimble as a guide.

When my length was right I trimmed the edge with pinking shears.   I stitched the two ends together leaving the seam to the outside and to stitch it to it's appropriate spot in the stitch book.
The addition of the thimble holder was a sort of challenge because it seemed to get lost on the "page" so to speak.  My solution became a sunflower where I added the thimble as part of it.  the stem and leaves are wool.  Embroidery stitch is buttonhole and the leaves have a chain stitch vein.  The sunflower is wooden.  You'll be surprised what you can find in your stash of stuff is you make up your mind not to buy one thing.  My stuff is awesome!! ~smile~

See how lost the thimble was looking?  Something cool had to be thought of.
 s
Scissors--- I placed the ribbon in the place I thought appropriate and tacked it down enough to try it out.  I had to move it a time or two before I got it right.  Nothing much else to report about this--very simple.

The needle folder/holder is a great way to protect your needles from grabbing onto other things in your book.  Somehow seems they seem to do that if you don't enclose them some way.  Also, threads creep and crawl!

 AI small sign, hand stitched, announcing it's contents.  A button added for cuteness.  I had this darling birdhouse button that just seemed to scream, "USE ME, USE ME!  The pole is small vintage rick rack wrapped with green embroidery thread.  The edge needed definition so I accomplished that with large rick rack.


The little label is just a square of muslin and a hand written  message.  I used a fine point Pigma Pen, then stitched it down with a running stitch.  Ragged edge is my style.  Simple and ragged~~

 The closure is ribbon around a precious button.   Perfectly useful and a lovely final addition.


It's been such a pleasure doing this tutorial as I worked on a project I so totally enjoy!  I appreciate your close attention!  I appreciate your finding some part of my life to benefit you and your little section of the world.  JOY is something all of us seek.  Little things in life is where most of it comes from.  If you don't find JOY in small things, you may not find very much.  I find my total JOY comes from my LORD and SAVIOR, JESUS CHRIST.  If you haven't found HIM, my prayer is that you will very soon. His Word says you will find him if you look for Him with all your heart, soul, and mind.  The place to look?  His Word--the Bible.  It is totally alive and will come alive in your inner most being, your soul.  He is life and brings life, Forever life which is where I find my JOY.  This world brings many many sorrows, but in the promises of Jesus Christ, I can still have ultimate hope and JOY!  If I don't come back before Christmas, Please remember to look for HIM this season.  Without Him there would be no Christmas. 
If you read my blog and enjoy any part of it, I surely would appreciate a comment.  It's the only way I can know you enjoy it.  I don't get paid for any part of it, just love giving a gift to you from me.  If you want to encourage me to do more, just leave me a nice comment.  

Love to all !

MOLLY

Thursday, March 21, 2013

IT'S TIME FOR THE "STITCH ME UP" BLOG HOP

STITCH ME UP BLOG HOP--DAY 2


Madam Samm @ SewWeQuilt and Jane  @ Janes Fabrics and Quilts have done such an awesome job setting up the Blog Hops of late.  Haven't they been great???!!! sTITCH ME UP means that now it's my turn to participate. 

The Threads and patterns sent by Jane were so lovely!


I chose what I call a curly cue design and stitched in two different colorways.  Simple stitches in colors you love make for some happy happy stitching days.   I chose wool for the flowers as stitching with wool just does it for me if you know what I mean! (smile)~  Button centers also make me smile~~  Enjoy the view and visit every other blog listed below to oooh and aaah at all the great projects that have happened the last few weeks.  HAPPY STITCHING!!


Please visit all these blogs to see their creations!!  Your creative juices will begin to flow and secreet out all over!!  Hey!  This is a good thing!!  Remember where you are--- Molly's Place --.


THURSDAY March 21st


Quilting

Thursday, October 13, 2011

BOOT BASH BLOCK 10

Long time waiting, I know.  I am so sorry.  I hope the new block will be worth the wait.  I promise you that the next will not be this late.  It is already in the making.  It is designed, but not stitched.  I hope that will happen beginning today. 

Block 9 is now stitched
I think it needed a little more contrast between the boot fabric and the flower fabric, but it will have to do for now.  Keep this in mind when you chose your fabrics.  Your choice of thread can fix this problem.  Too bad I didn't do that--HA--.  A contrasting thread instead of a flower matching thread would have helped.  I still might just do an outline in --uh--maybe red!  or cream!  or gold!  Oh ell, you get the picture.  Just a note.  My two year old DGS needed something to do  hile  atching  innie the Pooh on my compouter.  SO--he picked off my W key and chewed it up!!!  Needless to say, he  ill not be  atching  innie on MY computer anytime soon.  I ask him, Cullen, what did you do to my W.  He said, " Me cew it up".  How can you get mad at that????  Precious.  It will work, but I have to hit it extra hard, so sometimes it doesn't show up.  HAHA  One of the many perils of my life as a Nana.
OK--On with the next block--you know--the late one--BLOCK 10.
TA DAAAA
It's another well worn boot, a work boot, I think.  It has sloshed around in the mud, blood, and poop until it's color has changed and the leather is soft and wavy.  I know you must have had a pair like this before.  The fall leaf gives an added touch of the Fall Flavor.  Hope you enjoy and GET BUSY because I am and the November will be up in time--i hope--don't hold me to it--PLEASE!  Just be patient.  Love you guys!  Stay cool--in all ways you can!!

One more thing.  I  ant to show you a pic of a block I decided not to use.  I just didn't like it in the quilt.  It didn't fit, but some of you might like it.  If you do, e me and I will send you the pattern or maybe even post it.

I hate to ask, but I really ould like to k now if you are using/enjoying/collecting my blocks.  Remember these are FREE for your personal use and if you let me know by way of a comment if you are enjoying them in some way, it kinda just keeps me pumped up to provide them for you.  I love blogging, but sometimes it is hard to get around to doing it.  Thanks for your support.
Quilting

Saturday, April 30, 2011

BOOT BASH BLOCK #5

HERE YA GO, PEEPS!


I am much happier with this month's Boot Bash block.  You will, as usual, find the pattern link on the right sidebar.  All I ask of you is to respect my copyright and use only for yourself and leave a comment if you do a download.  Just gives me an idea of how many think they might make this pattern.  Please do not share any of my patterns, but send someone to my blog as an alternative.  Enjoy and if you do make a or many blocks, use my Flickr group and find the link on the right sidebar also.  Thanks again and Enjoy May by making a May Boot Bash Block!!!!

Quilting

Thursday, July 16, 2009

Bunny Hill Blocks of the Month--#6 is Finito!!

Another fun Bunny Hill Block is finished! I am enjoying these so much. I chose 2 shades of brown rick rack interwoven for the handle this time. Wool is the flower centers. French knots embelish the flower centers and the daisy strip of embroidery that stretches across the top. If you look close you can see that the fabric I used has a tiny LadyBug on it and I fussy cut the fabric so that Miss Ladybug is sitting just perfectly on the flower petal. I didn't use any vintage buttons on this block as I could not seem to find the perfect place for them. I considered the corners where the handle and the basket meet, but it just looked a bit much to me. What do you think? Do you it is complete, or could it use some buttons?

ON TO #7--JULY--Then I will be caught up. Get busy on yours now. See the Bunny Hill button on the sidebar.


Quilting

Thursday, April 30, 2009

My Latest Purchase


On the advice of Wooly Buddies Yahoo Group, I purchased this 100% wool coat from a "junk Shop" for $10. That is an excellent price considering that a fat quarter can cost $10 to $20 just for a fat quarter in a quilt shop. The color is a little more "rosie" than I like, but I am thinking that maybe I can overdye it to a deeper tone that I will be more pleased with.

It took me about 30 minutes to cut the coat apart. There are no real wide pieces as the coat had many seams (it actually fit me perfectly and if it hadn't had a couple of very small moth holes, I would have kept it. That and the fact that wool coats are not in big demand in Texas. Although I have one that I keep to wear to funerals in the winter. You know, where you must stand out in the weather for a long period of time?) ~~~~ The coat washed beautifully. I expected it to fluff up, and it didn't. It came out of the washer and drier just as it went in, only clean. Maybe because it is real woven wool and not felted? I am asking as I really am clueless. The pieces didn't seem to shrink at all.

This is the yeild. At fairly large stack of wool, huh? I am pleased and willing to swap if anyone who might have also found a coat in a junk shop and would want to trade for some of mine----just comment!!!

Quilting
l

Monday, March 2, 2009

AND THE WINNER'S ARE~~~~

and the winners are~~~~ it ain't me


I entered the Piece O Cake Block contest last month. Becky and Linda offered one of their unpublished blocks for free and ask for projects to be made from the block. Winners would be published in their new book (now I understand they will be included in their Block of the Month).


First I made a pillow--wool applique on Piece O Cake fabric with an underlay of burlap. I embroidered with buttonhole stitch and then quilted it with embroidery thread. I finishedit off with vintage tatting and button.

My PinKeeper is made similar using again wool applique on POC fabric and bulap underlay. I edged it with antique cotton lace and two vintage buttons tied on with embroidery thread.

This photo shows the place for your thimble.


They announced the winners today. You can find them here. There are many many beautiful entries. ENJOY!


Quilting
Related Posts with Thumbnails

Thanks for stopping by--Please Come Again!

background