Showing posts with label Tree Time Block of the Month. Show all posts

Friday, November 26, 2010

TREE TIME, BLOCK 12------

What a blast!  I have grown so much with this project.  I hope you have enjoyed it as much as I.  This is the very last of 12 Tree Time Block of the Month blocks.  Each and every one has been a REAL experience.

Pine trees are everywhere in East Texas, so I could not ignore them in my search for inspiration.  No grass here as the grass won't grow under them  The roots are often visible on top of the ground. 


Instead of leaves, they sport some "needles".  These needles cover the ground and prevent anything else to grow there.
The bark is a grayish brown and is very texturous (is that a word?). I did some simple Straight Stitch to try to simulate the look.

You will find the pattern HERE!  or in the list with the other patterns on the right side bar.
I hope you enjoy stitching this last block.  You have all been so kind to leave your great comments.  I love you all for it. 

 Keep Stitchin!!!!
Quilting

Monday, November 1, 2010

TREE TIME BLOCK OF THE MONTH, BLOCK 11

I can't believe that I am posting block number 11.  In one month we will have a whole year of Tree Time behind us.  That is incredible.  I want to address the group of trees and then I will get back to the individual block:---


After my October Tree Time block was finsihed and posted, I began to worry that all my trees are going to work together in a quilt.  They have definately evolved.  When I started, I planned to use wool in my blocks, but as the months passed, I began to use more and larger pieces of wool.  Seems that my trees themselves have become larger.  Also, I started out with each tree having a different star on top.  Several lster trees have no star because I simply didn't feel that it worked.   I decided I should get them all out and put them on my design wall so that I could see if all will work together. 

Picture of design wall here.

I think they will.  I may do some of the first ones again.  I think I want them to fill the space better.  Also, When I started I didn't want any to fit a time of year.  I just wanted them to be generic trees that could be used at any time of year.  Several seem to fit a certain time of year.  This has been a real learning experience for me.  I am pleased with each block individually, but collectively, not so much. 

In general, just one tip----One of my favorite sources for stitches and stitch combinations is

I'm Just Sayin----smile

When I go to the internet to search for tuorials, I usually find many many variations of a stitch and also variations in the names.  It is very confusing to the novice stitcher.  The only way to clear it all up is to research the stitches and study them so that you become familiar with the different variations and names.  The Feathered Chain Stitch that I used in this month's block is a variation of Chain Stitch that I have never used or seen.  I really enjoyed learning to stitch it.  It took me some time to get the hang of  how to stitch it in the case of my tree.  I seemed to be stitching it upside down and maybe I was.  The chain base is the leaf tip.  In other words, the bottom is the top.  LOL  I am sure I have absolutely confused you now and honestly, I was definatly confused until I wrapped my brain around it.  This is the reason I did a tutorial.  I really wanted to help those who might have a problem "seeing"  how to stitch it.

A printed tutorial for the Feathered Chain Stitch used as the branches and leaves for this tree can be found HERE  It's the last variation of the Chain Stitch shown on the page so you will have to scroll down to the bottom of the page to find it.....

FYI----To watch the video, you will need to turn off the music.  Scroll down to the bottom of the blog page and you will find the music player.  Click on the Pause button, which is the large round button with two striaght marks on it. 


I have attemped a tutorial for the feathered Chain Stitch which I used in Tree Time Block 11.  I hope it helps someone.  Very primitive haha--I actually have several and couldn't decide which one was the best.  I did it ad-lib (how do you spell that?) and each one has good, but different stuff in it. 

Now, on to the pattern--I made a pattern, but when it came to marking the leaves/limbs (Feathered Chain Stitch), I did not mark the lines in on my fabric.  I was afraid that I would change my mind and would not be able to cover or remove the marks.  You do what you want, but if you chose not to mark, let me tell you to stitch the outside and the middle limbs first and then fill in the blank areas.

Ok, ya'll.  I hope you enjoy stitching block 11.  Let me know how it works for ya.  I would love to see them.  An emailed pic or one uploaded to the flickr group (see the link on the right sidebar). 

Happy Stitching!!!
Quilting

Monday, October 11, 2010

IT'S FINALLY FINSIHED! I HOPE!

CLICK HERE FOR OCTOBER
MCCALLS MAGAZINE SUBSCRIPION GIVE AWAY
I have finally finished the October Tree Time block, I hope.  I added a pumpkin, of all things, and I think it added a little punch or should I say pumpk.  I did not add the pumpkin to the pattern.  If you have trouble adding it to yours, let me know and I will help you out.  Here it is:


And here is the Pumpkin.  I worked it in Chain Stitch and outlined it in brown.  A stem and leaf and wa la-- 
It's peeping out from behind.  Obviously placed there by a scarecrow to save for later.  I hope the crows don't get it.

I have a project that needs attention and that I have been putting off, but right after that I will get the next tree done.  I hope the November block will not be late.  I am thinking Sunflowers.  We will see, won't we.  Enjoy this beautiful weather, blogging friends.  Until next time.  Don't forget to click the link at the beginning of this post and commnt, blog, or any other way to help me get the word around and you will be placed in the drawing for however many times you can help me out.
Quilting

Saturday, October 9, 2010

Tree Time Report

CLICK FOR OCTOBER MCCALLS MAGAZINE SUBSCRIPTION GIVEAWAY

Now for Tree Time Update!
I have finished stitching my October Tree Time.  If you have started your, GOOD FOR YOU!!!  I hope your having a stitchin good time. 

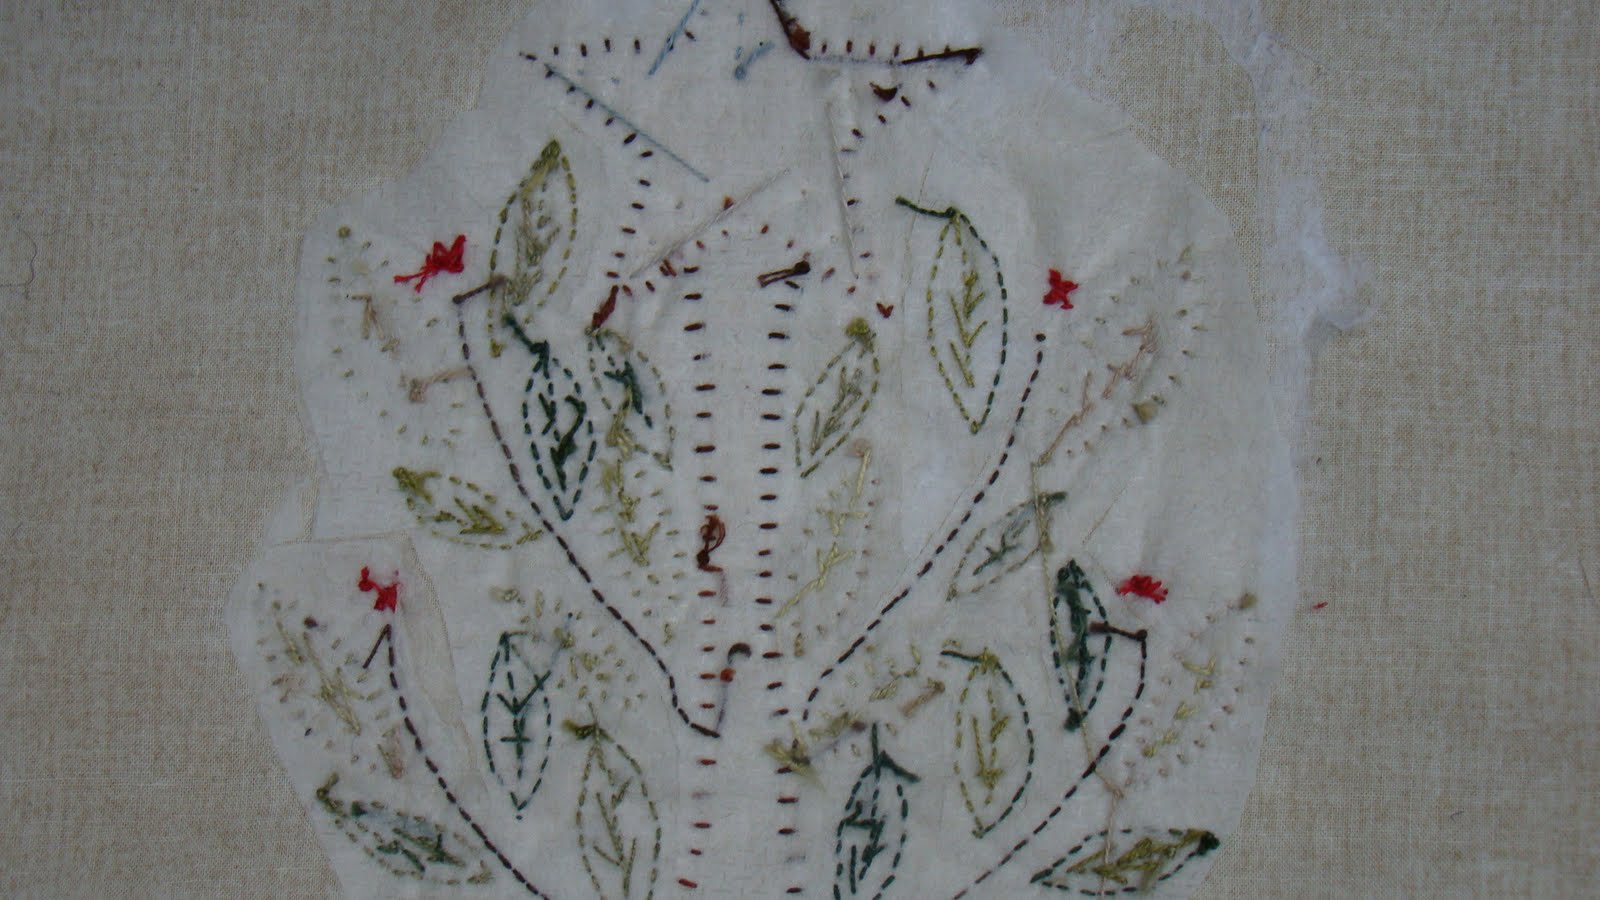
 The Closed Herringbone Stitch worked out nicely.  I ended up using 6 strands of embroidery threat and the leaves filled up nicely.  The I used a regular Herringbone Stitche for the edge of the tree.  I like the texture that it created. 
 I added a few touches of gold at the bottom of the tree to resemble fallen leaves.  I hope you can tell in the picture below the way I stitched them.  I will add a bird in a next button later or at least that is my plan at the moment.  The star?  Right now, non existant.  It is illusive and might appear a little later.

Might add a pumpkin with a star?   Now THAT'S AN IDEA!!  (who said that??? LOL)

I'll be back---------------------
Quilting

Friday, October 1, 2010

TIME FOR "TREE TIME" BLOCK 10

BEFORE WE START, IF YOU ARE LOOKING FOR "MAGAZINE GIVEAWAY"  GO HERE

TREE TIME, BLOCK 10 IS UP ON THE RIGHT SIDE BAR.  I do have to tell you that it is not complete.  I am late gettng my stitching done, but I put up the pattern and the stitching that I have done so far just so if you are sitting on the edge of your seat, you can start.  You can even help with the design process if you so desire.  The block will really be a "Make it Your On". lol


For this block, I have in mind to learn one stitch and that is the Closed Herringbone Stitch.  I have seen this stitch used for leaves and want to give it a try. A search for a tutorial reveals that the Closed Herringbone is also called a Fishbone Stitch.  Go HERE for the tutorial.   A thick thread will make a better fill for the leaves.  A finer thread will make a feather look for the leaves.  I have used a 30 weight cotton.  I wish I had a green wooly nylon to try.  I think this would really look nice.  If you have this thread, and want to give it a try, I would love to see it.  I am back to stitching and will be back to you with a pic of the finished block really soon. 
Thanks kids!!
Quilting

Tuesday, September 7, 2010

TREE TIME EMBROIDERY BLOCK OF THE MONTH--BLOCK 9

Well, I guess one week late is not all THAT bad.  I have to apologize for posting the September block late.  Life just got in my way.  Busy and maybe not enough energy is my problem. 


I hope the link on the sidebar works this time.  If not, I am sure "someone" will let me know- smile-.
ENJOY and remember to Make it your own.  I drew the lines, but you can erase!!  and redraw them the way YOU want them to be.  Thanks for loving my blocks and I look forward to seeing and loving YOURS!  Send me a pic!  I will blog about it.

Quilting

Friday, July 30, 2010

TIME FOR "TREE TIME" --BLOCK 8

PATTERN IS NOW UP AND HOPEFULLY WORKING!  LET ME KNOW IF YOU HAVE ANY PROBLEMS DOWNLOADING.

Well, I am a little bit early, boys and girls.  Next month may be a different story.  I don't even have a design for next month.  You know I am new at this designing thing.  I DID NOT have a  months done when I started this Block of the Month.  Each month is as new to me as it is to you!! haha  This one has been fun.  I am a little confused with the Turkey Work.  Last month I used a stitch I found named
Turkey Work (click for Tutorial) for the ground and this month I have used one named the same, but the result is a plush pile, perfect for this month's squirrel tail.  As I stitched this tail, I did not feel that I was following the tutorial as it was intended.  I did make the stitches around the edge as taught, but then stitched a Chain Stitch row.  I then filled the middle of the tail with random Turkey Work.  I was trying for a sparse hair look as the squirrel's tail has in our area of the world.  I feel I should go back a put a few more stitches at the base of the tail and possibly at the tip.  I did find another Tutorial that might help you keep stitches in the "right place" and the pile uniform HERE.

There are no other new stitches, I don't think.  If I missed one, please comment about it.  I am continuing the Stem Stitch to define the wool applique after the Buttonhole stitch.  I simply think it looks better.
.........Thanks for keep up with TREE TIME.
And don't forget the Flickr Group--not many are participating, but I wish you would.  It's a great way to stay motivated to stitch the blocks.  I have a couple who are very dedicated and they are doing so great.!
Way to go girls.  I love the changes you have made to my blocks.  I also love the fact that you are making them to suit yourself.  That is the first step to designing. 


Quilting

Thursday, July 1, 2010

TREE TIME, BLOCK 7


Ready for a litte Tree Time??  Block 7 is up and ready for download.  See the link along with links for each block on the right sidebar.  Block 7 is just as easy as the other blocks, but takes a little longer because of the leaves.  I have numbered the leaves on the pattern in case you use a fusible and want to know exactly which leaf goes where.  If you don't trace the leaves on your background, it won't matter which leaf goes where.  You can just cut them out freehand and place them on your background.  There I go trying to make EVERYBODY happy.  To each his own, as they say.  Another option that you have with this block is which leaves to applique and which ones to embroidery.  It would lend itself to complete embroidery if you so desire.  The groundwork could be a multitude of stitches.  Even some neat, different stitches.  The instruction sheet says "Running Stitch", but if you are feeling good, try something a little different to expand your horizons!  Sounds good, huh?  If your stitch will not be a solid stitch, then you need to stitch freehand or use a marking method where marking can be removed easily.  I ended up with a stitch call TURKEY WORK.  I really enjoyed learning it.  It starts off the same as a running stitch but you let your thread swing on one side and then the other. 
Another little problem I want to discuss with you is "puckering".  I don't use a hoop and I love using a lightweight interfacing/stableizer on the back.  It gives my embroidery some body and hides my threads from showing through-----BUT--I am still having a pucker problem.  Some say that when you iron on the stabelizer that you should not use a hot iron or steam as it causes the stabelizer to shrink.  This might be my problem.  But this time I could not make anything work.  I decided to use a 505 spray to attach a regular (non stick) stabelizer.  I still had some puckering, but I clipped between my stitches to release the tension where the stableizer pulled the piece together.  I also trimmed the stableizer all the way around fairly close to my stitching. 


Hey, what can I say--my back is messy!!  HEY--My front is not--!
It's kinda like your living room being picked up and straight and your closet--uuhh--BAD!!
Like--"Don't open the door bad!!  I can't believe I showed it to you!

I have a video for a Stem Stitch.  It's my first and at the beginning you can hear my dryer running.  I am going to post it anyway!  LOL  So be looking for that and  I will search for a diagram or a video for the Turkey Work.  I want you to try it!  ENJOY!!


Quilting

Sunday, May 30, 2010

I AM GROWING ALONG WITH TREE TIME

UPDATE!!!
YOU GUYS!  IT'S SO NICE TO BE LOVED!  YA'LL ARE THE GREATEST.  I PULLED THOSE COMMENTS RIGHT OUT OF YA, DIDN'T I????  THANK YOU FROM THE BOTTOM OF MY LITTLE COWGIRL HEART!!!!!  I blog for me, but you all know that we live for COMMENTS!!

I have had a couple of tips that the BLOCK6 link is not working.  I checked all settings and they seem to be the same as previous blocks.  If you have a problem, please let me know so I can continue to try to fix it.

It's time for TREE TIME FREE BLOCK OF THE MONTH!!  I hope you are caught up and ready.  I really am proud of this block.  I am very pleased with it's design.   I started this project to bring readers to my blog, but also to give me a goal--to help me learn what it takes to get a pattern to my readers and to drive me to design patterns of my own.  I am doing that.  They may not be perfect, but they are usable and some are enjoying them.  I believe they are improving also. 

I am disappointed in the response, but maybe there are those of you who are downloading them and possibly making them and are not commenting.  If not, then I only have a very few who are interested. 
I also have not had a very good response to my Feathered Star tutorial.  I am thinking that I will abandon that as it is so much work and I only have had two comments and those were very good friends.  Thanks to those who are enjoying my Tree Time BOM.  I really appreciate your encouragement.


Quilting

Friday, April 30, 2010

5 FRIENDS AND A FEATHERED STAR!!

UPDATE---TREE TIME BLOCK OF MONTH--BLOCK 5 IS NOW POSTED ON THE RIGHT SIDEBAR.
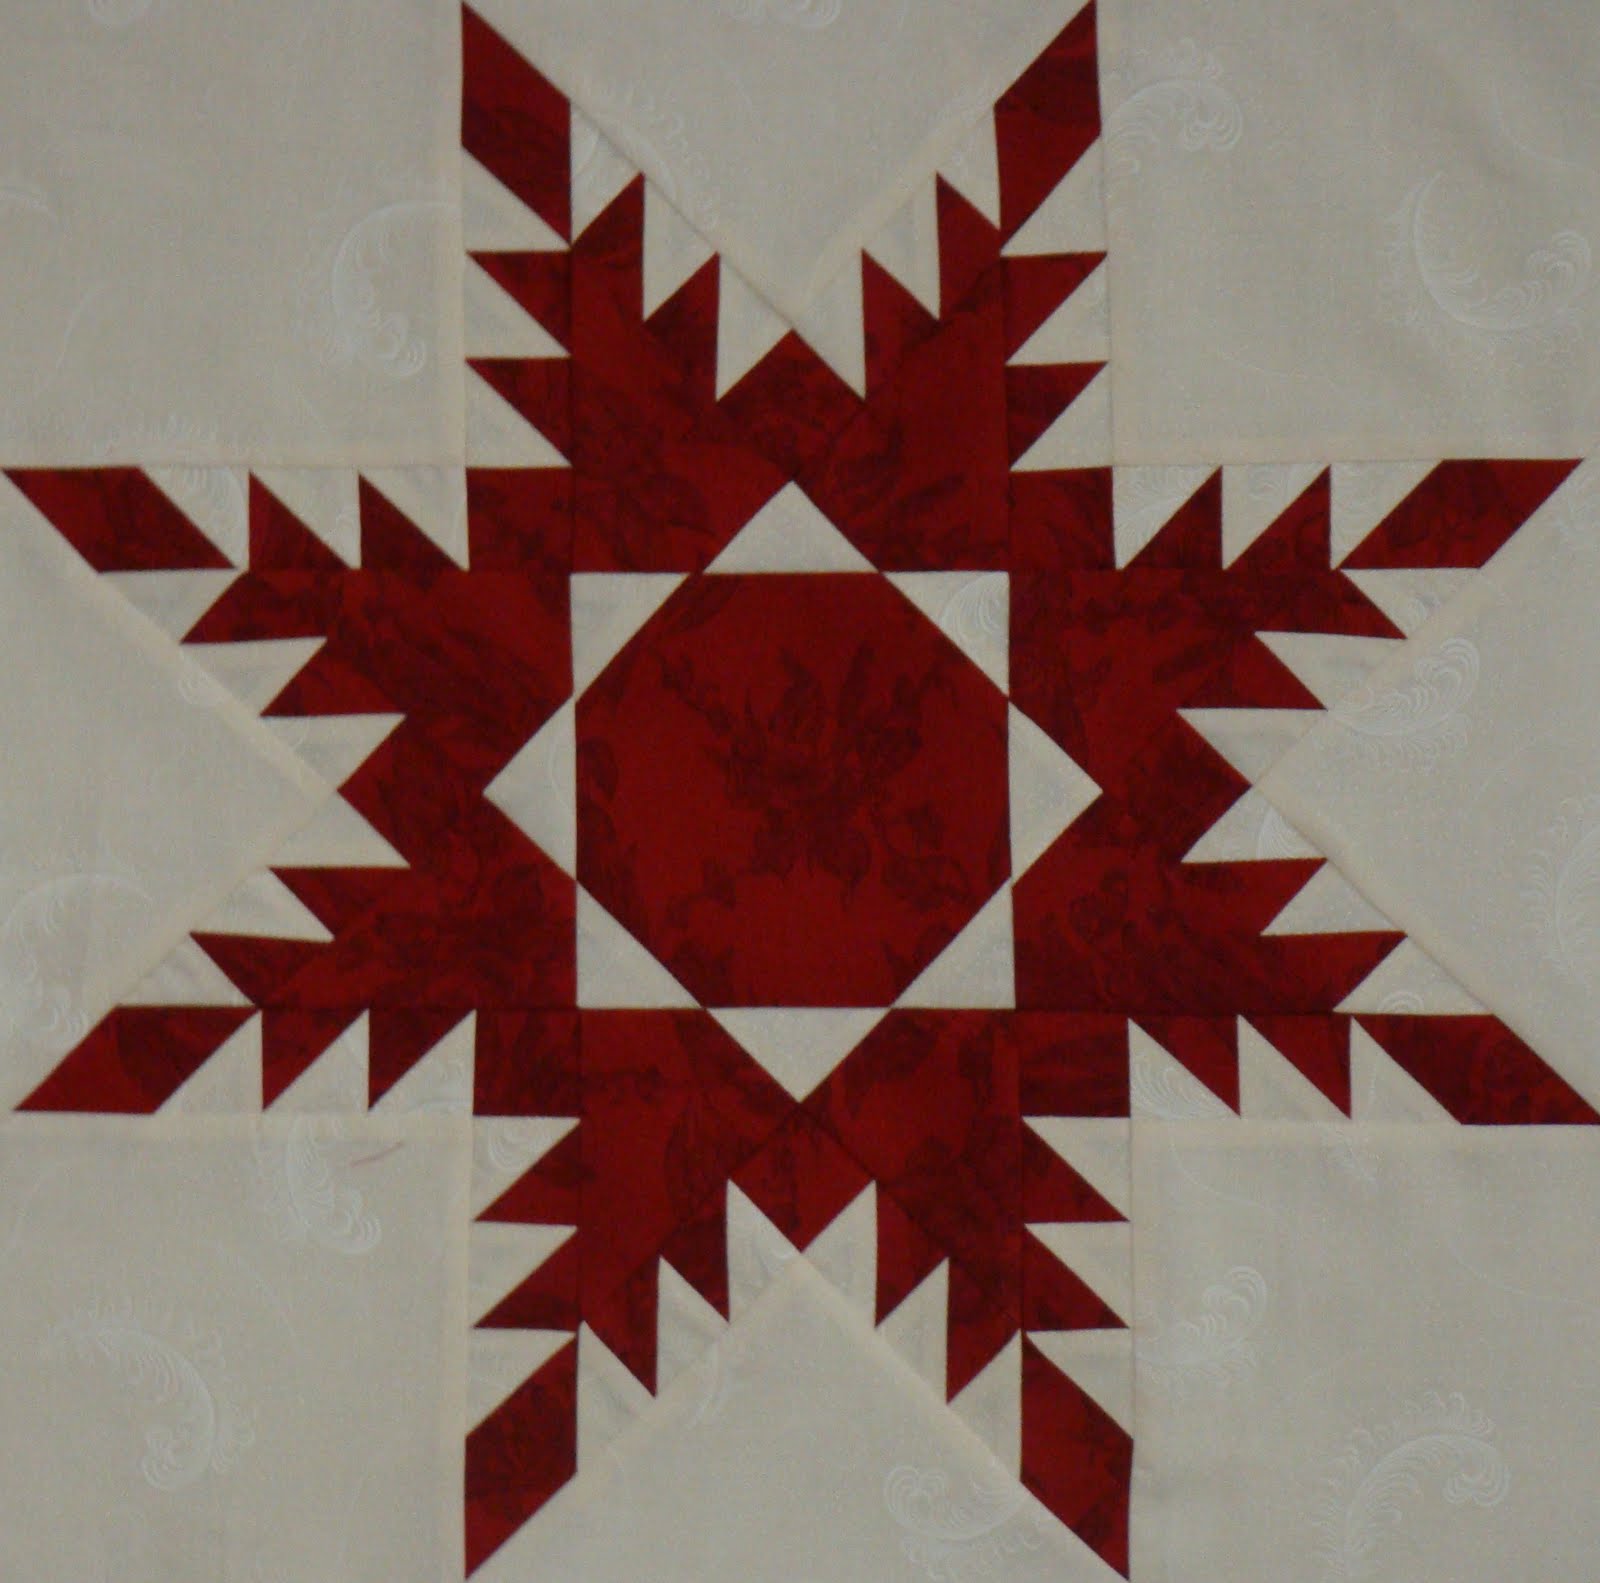
MY BLOCK

 About the last month has been stressful one for me.  You see, my Wacky friends ask me to "guide" them in the making of a Feathered Star Block.  "I am no guru of feathered star", I think to myself.  My only qualification is that I have made them before.  I took on the challenge, only because of their urging not assuring their success.  My so-called teacher is Marsha McCloskey's book of Quick Quilts.  Thru the learning process, I discovered that I needed more help than Marsha had given me so I made changes where I needed and added some "helps" that I needed along the Feathered Star Way.  As the time approached, I was confident in my expectations of success for this group of quilters.  They are vey capable of anything, just not very confident---at least not in this area.  The Feathered Star is very intimidating.  You look at the pictures and think--not no, but Hell no! I gave them words of encouragement.
You can do this!!  You could even do it without my help!  They didn't believe these words, but they are about to find out how truly capable they really are--

I printed a Radiant Star diagram from EQ6.  I lettered each piece and added a snippit of my fabric choice for each piece.  This is a wonderful thing.  You can quickly look at the pattern and then the diagram and see which piece you are cutting from which fabric.  I wondered if this would be as much help to them as it was for me.  It was.  They were quickly on their way to breaking this bugger down to a workable level.


Their homework was to make their 32 -1 1/2 inch half-squares with Marsha's Bias Strip Method.  They all had them ready.  With the diagram, they were able to quickly cut their other pieces, place them in baggies and we were ready to go!
OK--Did you test that 1/4 inch seam?  Are you equiped with a 8/60 needle and 50 to 60 weight thread? 


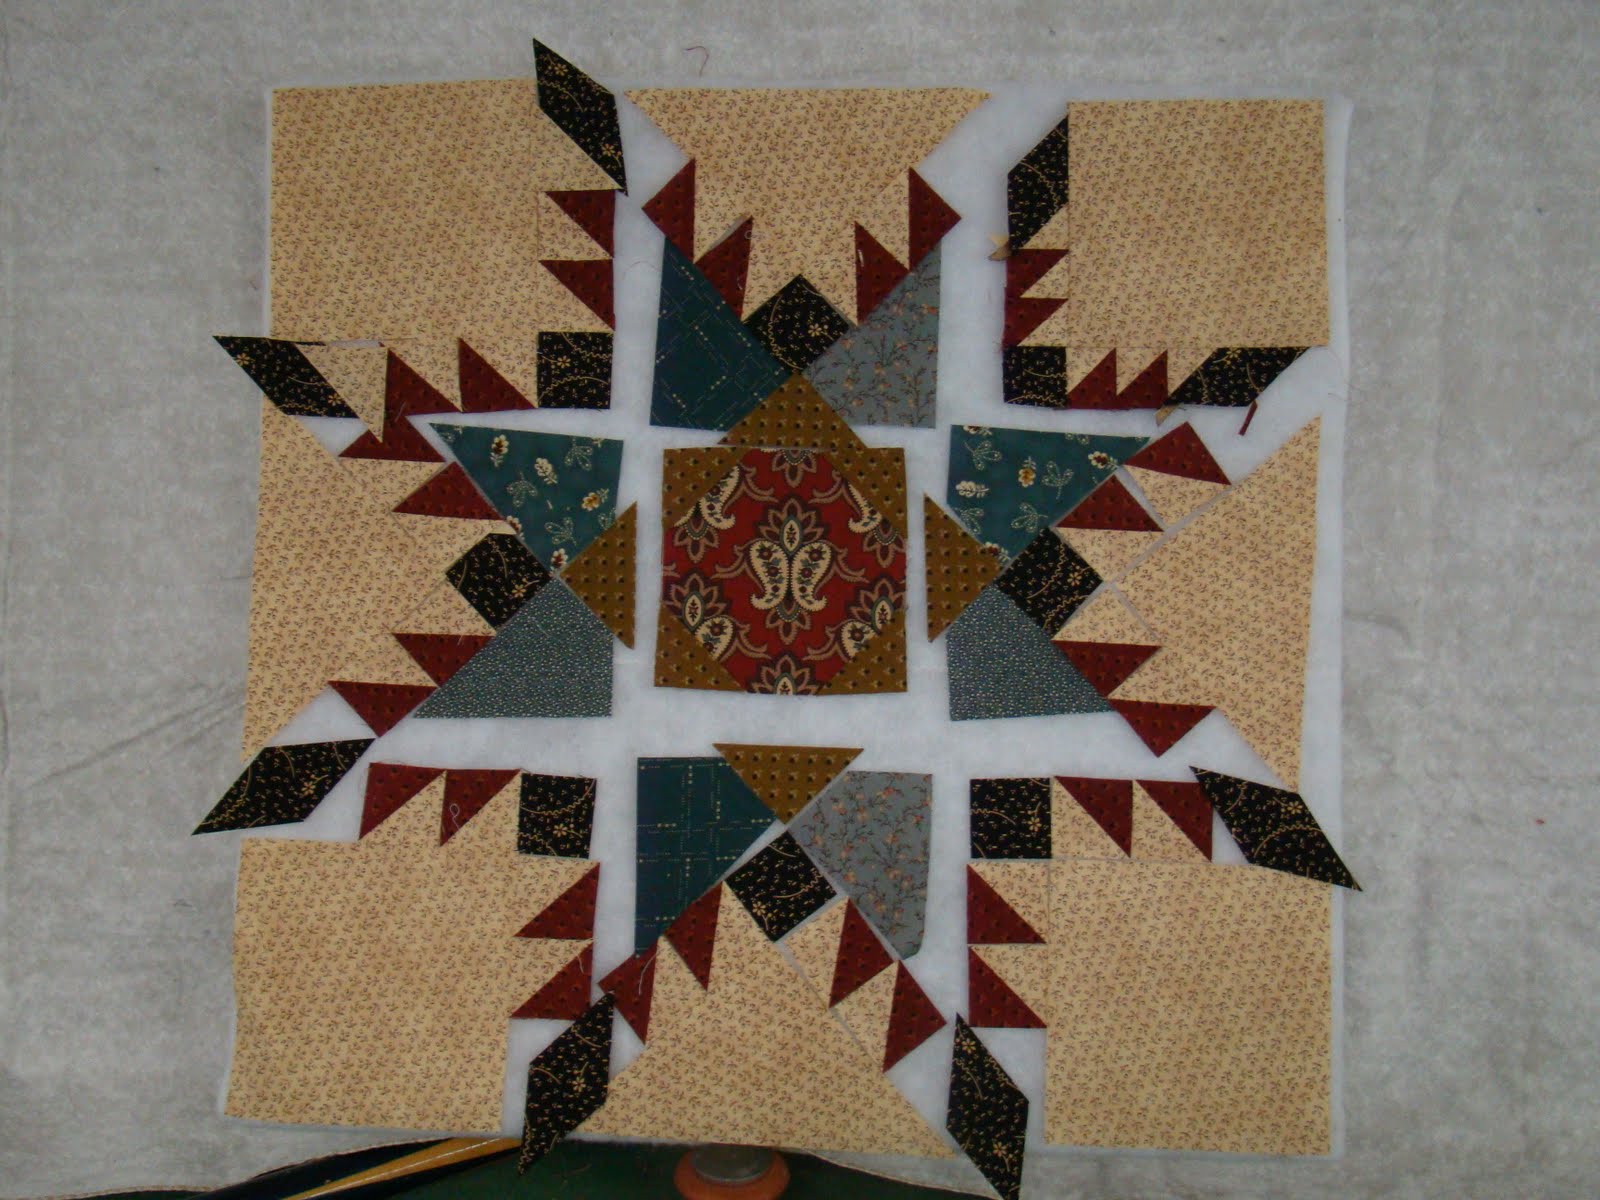
This is no more than a nine patch block.  If you break it down to that and focus on one section at a time, you will not be overwhelmed.  Remember:  Hard by the Yard, but a Cinch by the Inch.  Laying the feathers out in their appropriate placement using the Bears' Paw background shape as a visual clue that you have the feather tips aimed in the right direction is a tip that helps me.  The corner segments are the easiest so let's do them first!  I placed all my pieces on my table top flannel board that I had encouraged them to make and bring with them.  They opted to put their pieces up also.

The girls were a bit quiet (not like them ,AT ALL!).  I could HEAR their determination.  I am praying at this point, but actually am proud of their efforts.  I am thinking --CRAP!  I hope if they have a problem that I will be able to solve it for them.


Just as I thought, they ended up giving ME a tip or two.  We were all able to finish a Feathered Star in a 1/2 day.  They were then "on a roll" and began to add more as you can see in the pictures below.  All the blocks are so so different.  We spent lots of time discussing the differnces in them and why each was so beautiful.

KATHY'S BLOCK

ANNIE'S BLOCK
RHONDA'S BLOCK

KATHLEEN'S BLOCK


GREAT DAY, GREAT EXPERIENCE, GREAT GROUP!!!

I will be updating this post to announce Block #5 of my Free TREE TIME BLOCK OF THE MONTH~

Quilting

Related Posts with Thumbnails

Thanks for stopping by--Please Come Again!

background